


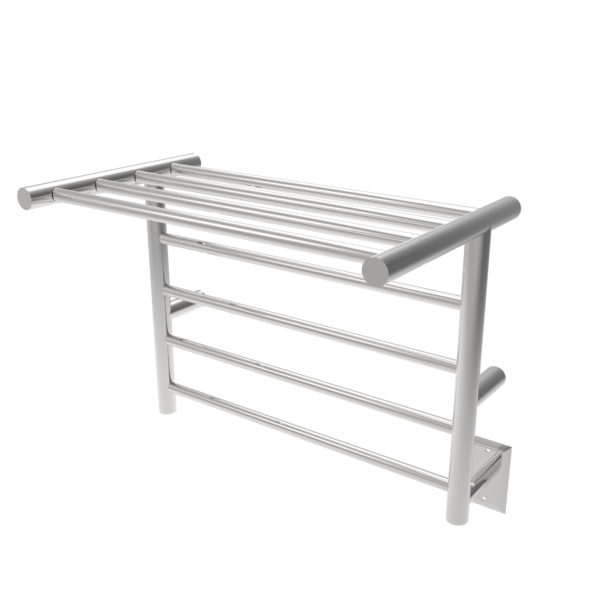


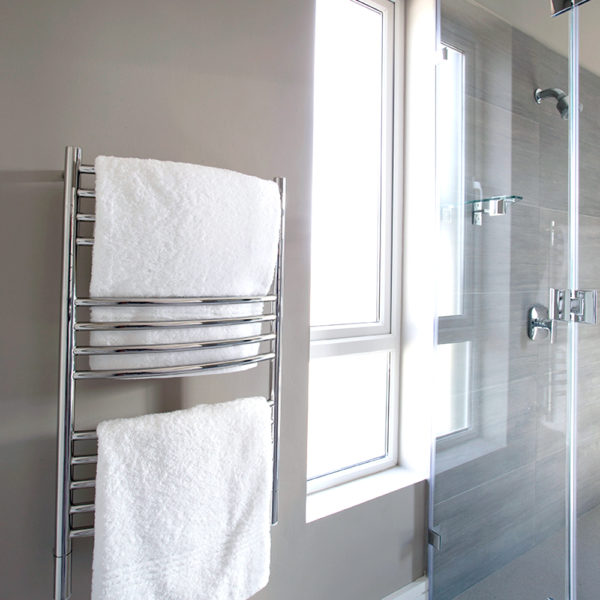
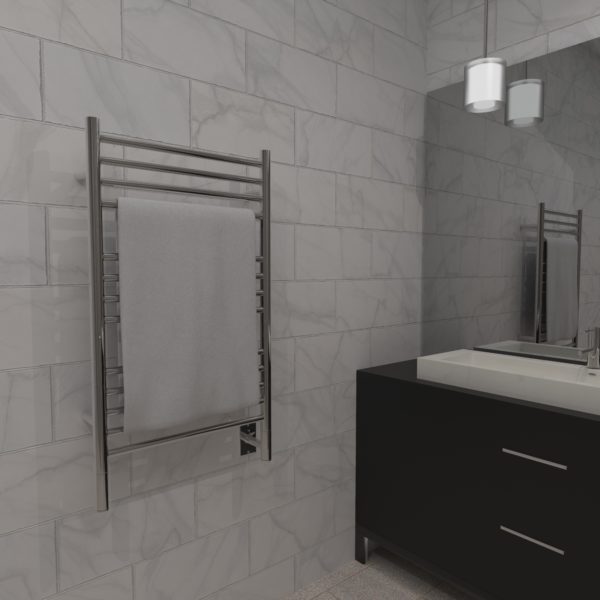
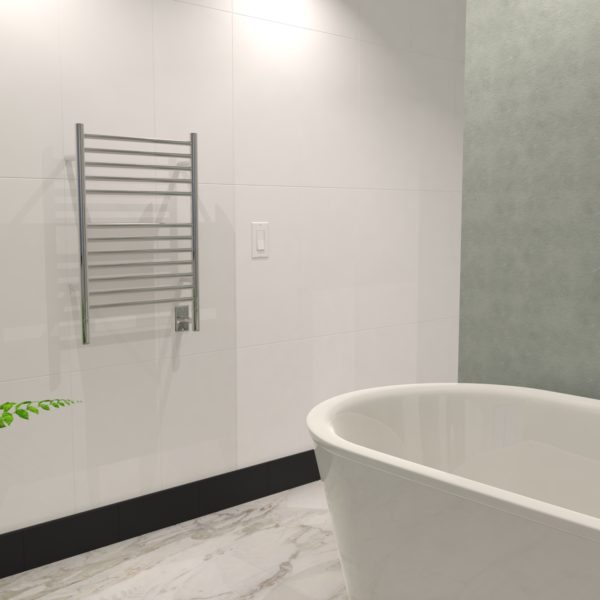
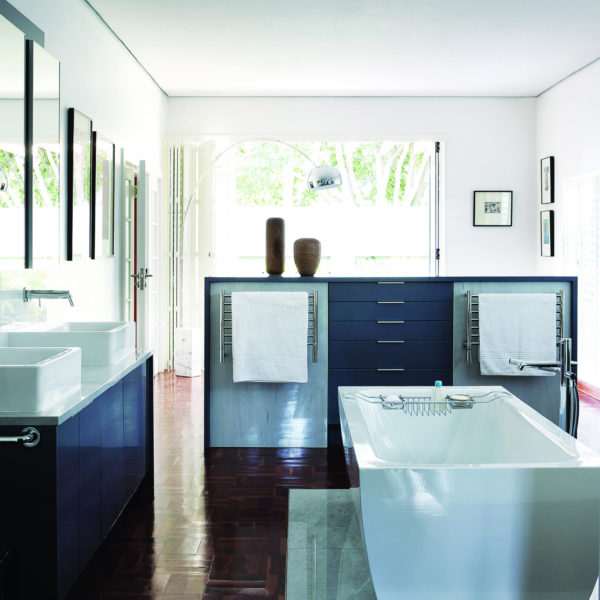
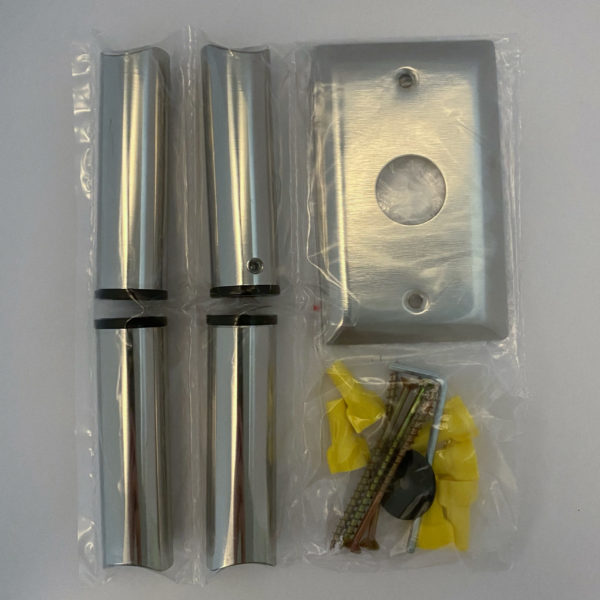
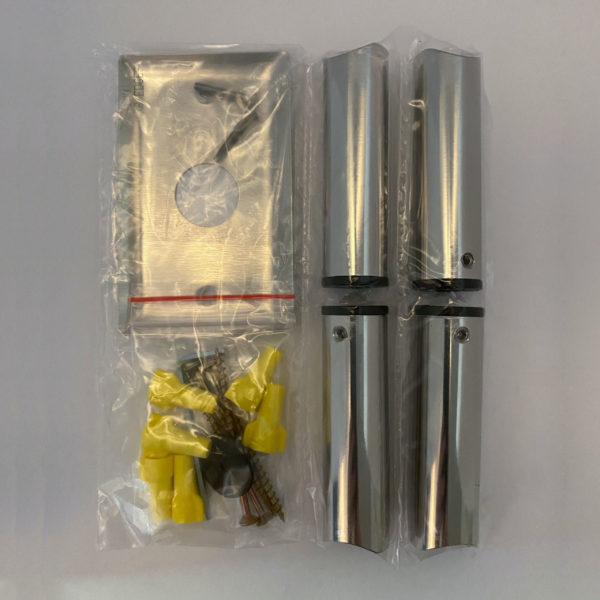
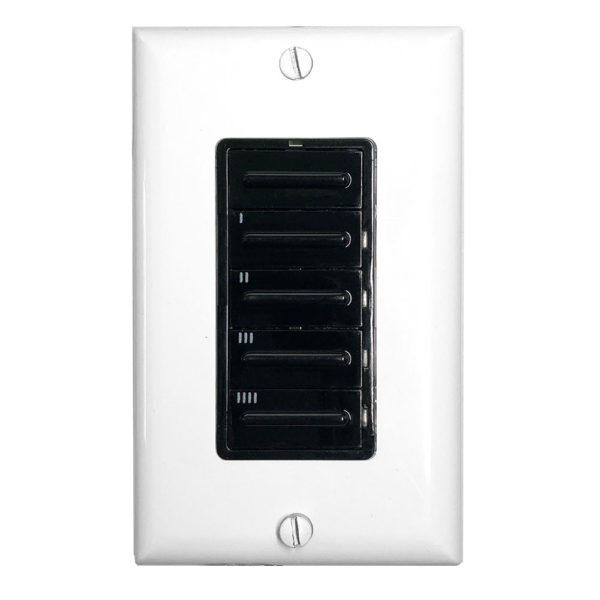
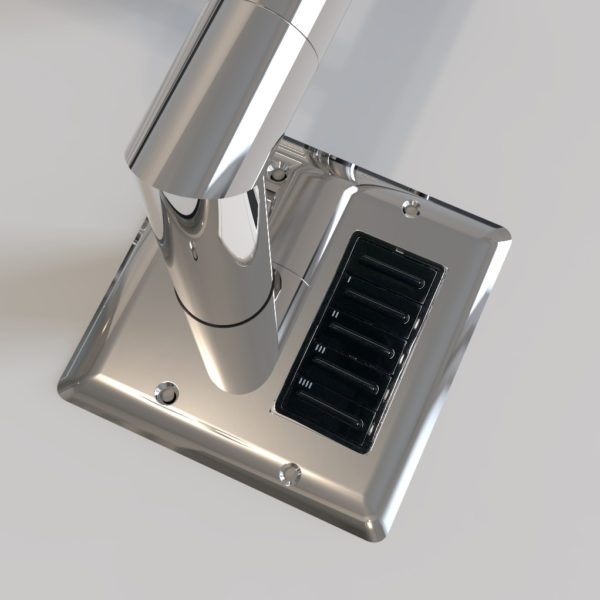
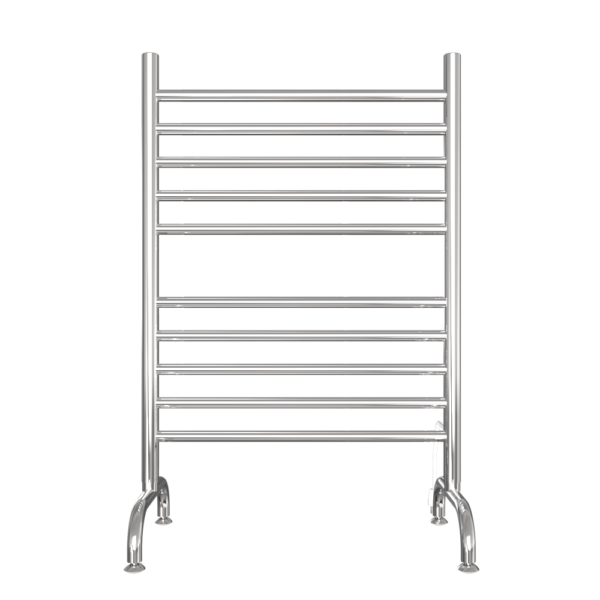
Radiant Small 7 Bar Towel Warmer
GREAT FOR SMALLER BATHROOMS OR EVEN AS A SUPPLEMENTAL RACK FOR THE LAUNDRY ROOM
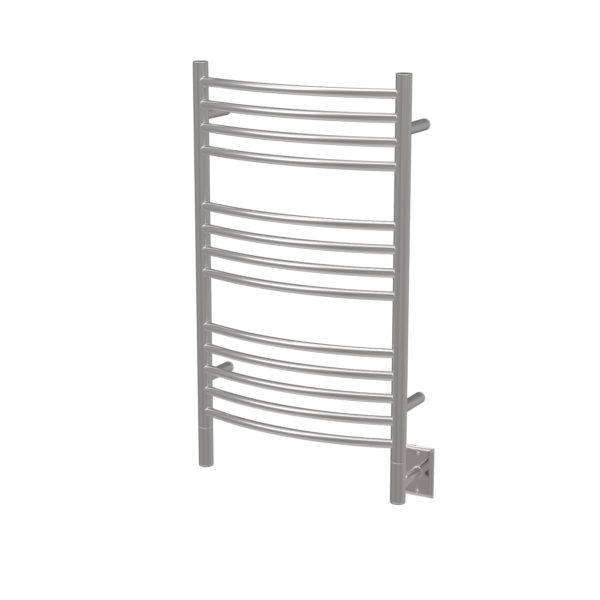
W (in): 20.5 x H (in): 36
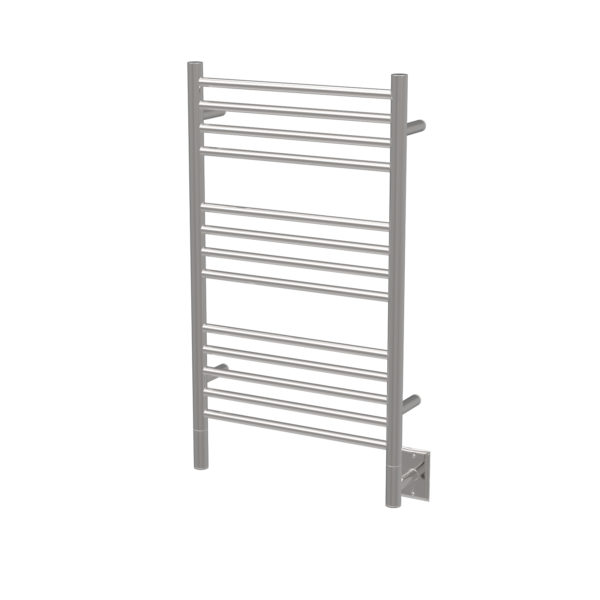
W (in): 20.5 x H (in): 36
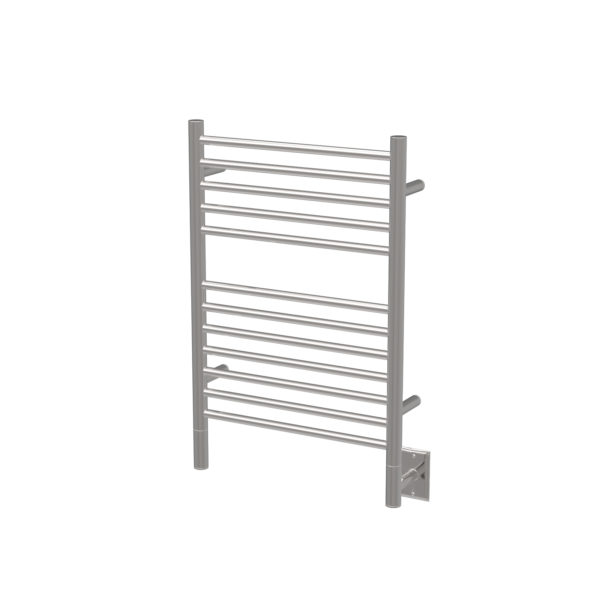
W (in): 20.5 x H (in): 31
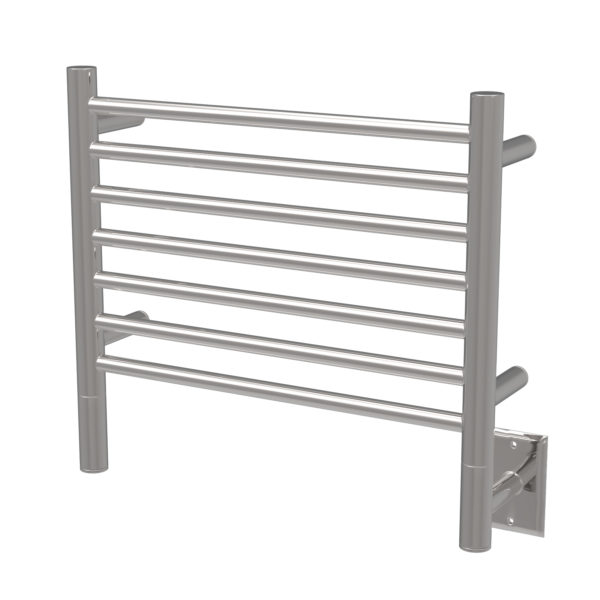
W (in): 20.5 x H (in): 18
Reviews
There are no reviews yet.